How To Install A Shower Base On Concrete Floor-In Your Bathroom
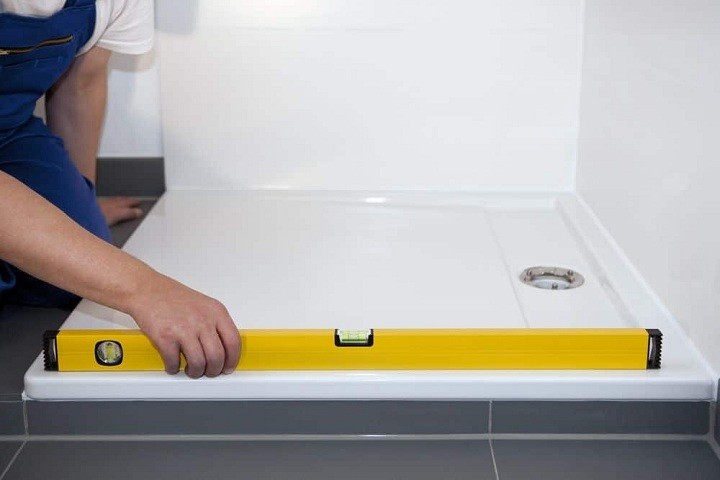
The most notable part of a shower is the shower base. This is a ready-made part that is installed on the floor. This part serves as the water-tight floor for the shower. This part is usually molded and at times cast. It includes a sloped floor, drain hole, sidewalls, and threshold. All these come in one piece. The shower base can be made of fiberglass, acrylic, and ceramic among others. Shower bases are easy to fix, easy to clean, fewer chances of leakages. In addition, shower bases come in various shapes and designs. How to install a shower base on the concrete floor has been a question in many people’s minds.
To achieve this, ensure that the floor is able to carry the weight of your shower base. It is easy to learn how to install a shower in the basement without breaking concrete. A drain pipe is already in place. The pipe should be sticking at least 2 inches above the floor at least an inch space between the pipe and the concrete for the accommodation of the drain assembly. This is your shower. The position of the drain pipe determines the local of the stud walls around the shower. Frame your shower walls to ensure that the shower bay fits. Lay the bay backward to install the shower drain. Use No-Caulk Shower Drain which is a leak-proof shower drain assembly.
Shower Base Installation Instructions
For a stable floor, floors and studs must be at the right angle. Leave a 5″×5″ opening for the drain. This should be left on the subfloor. The PVC paper that was laid down should extend 2 inches above the surface and the height of the Shower base.
Install the shower drain. The placement of the tray should be in such a way that the Drain Body drops around the Drain Pipe and butt. The Shower Base is up against the studs. Ensure the tray is level, and ensure that you mark the studs on the upper edge of the tile flange.
Take the bedding material (lime, cement-sand mix, water), mix them and apply. It should be enough to support the bottom of the shower base and add stability.
While placing the shower base into position, ensure that the drain assembly slides over the PVC waste paper. Ensure that the marks drawn on the studs align with the top of the tile flange. This should apply to the front edge contacting the rough floor along the length of the shower base. Remove all excess mortar.
Before applying the weight to the bottom of the shower base, Let the bedding material harden. Install the wallboard over the tile flanges before securing it to the studs. Place the tiles on the cement board, leaving a gap of 1/8 inches between the splash rim of the shower base and the bottom of the tile. Fill that gap with silicone caulk. When you install an acrylic shower base, you will follow the same instructions.
How to Replace a Shower Base on a Concrete Slab
It is easier to replace a shower base, first, using a hammer and chisel to break away the concrete around the drainage to expose the flange.
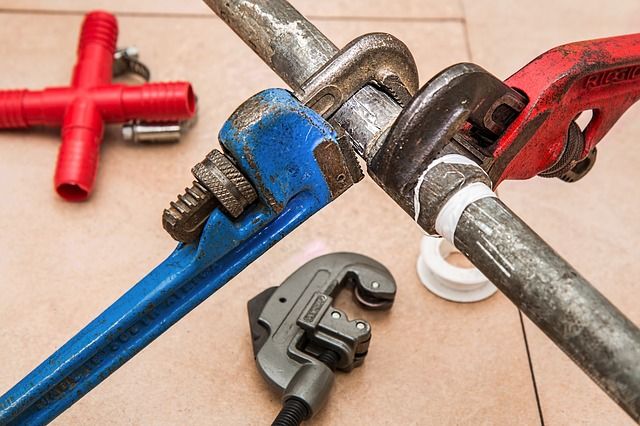
Using a wrench Loosen the bolts that hold the pipe rough-in. Remove the bolts and then remove the drain cover. This separates it from the flange and the drain attachment. Remove the old drain from the stack.
Using an old rag, clean the pipe stuck. Apply primer to the inside of the pipe stack as well as to the outside of your shower drain which is connected to the new flange. Let the primer dry before applying pipe cement to both sections of the attachments and connect the new drain to the pipe stack. Let the pipe cement dry.
Using a wrench, make the flange bolts lose. By slotting the shower drain cover over the top of the bolts, fix it in place and turn it until it is locked, then Tighten the bolts with your wrenches. To protect the drain cover it with duct tape.
Using a trowel, mix concrete in a bucket; ensure it is thick as well as creamy. Use this concrete to fill the space around the drain. This should cover the flange and bolts, then using a trowel, smooth the concrete with the remaining concrete. Let the concrete dry before removing the tape.



One Comment