How to Install a Shower Head: A Step-by-Step Guide

After doing your plumber installed for your new or old residence the next step is placing the additional shower and necessity faucet. Whereas doing the job at yourself is fascinating but at the same time troublesome.
Difficult because you have to know how to install a shower and exciting as you will do it by yourself. However, for doing so, you need a proper guideline or of course some basic knowledge. In every manner, this article will helpful for you.
Since here you have shown you step by step process that assists you in how to install a shower from begging to end.
Here remain the installation process
There are some basic to advance things you have to maintain when you decide to install a shower. Besides the installation process depending on which shower you are going to a setting. By the way, here we included the process to install a shower head with a handheld. Let’s have a look.
Step- 1. Arranged the necessary instrument
The very first thing is making a list of the instrument that is essential for shower installation. Below is the list of instruments that you have to organize before starting your project.
- Electric drill machine
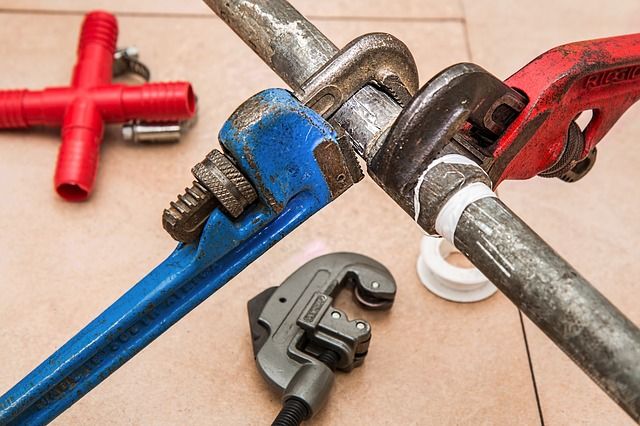
- Adjustable wrench
- 4 in 1 screwdriver
- Combine Glue
- Joining Tape
- Measuring tape
- Tube cutter
- Screw ( depend on the shower design)
- Teflon paste
Step- 2. Preparing the Place
The next step is preparing the place where you want to install the shower. Take a measurement of the place with the metering tape. There are multiple type shower head and handle available in the market.
Take a look at what kind of shower you brought for install. But don’t forget to turn off your water supply before the project started.
Step- 3. Mark the place and start work
The next step is staring at your actual job. Firstly, mark the place where you wanted to install the showerhead and handle. Almost every shower head is installing at the height of 72 to 80 inches. And the height of the handles remains 45 to 50 inches from the ground.
This measurement from the ground to the head is regarded as a standard dimension. However, after the mark, the place next step is creating a hole depending on the shower stuff. In case you have to use an electric drill machine. Therefore make a hole in such a way that you come across the pipeline.
When you are done with making your exact point then clean out the wall properly with a cleaner like bleach or other that type of cleanser. Beware the water you are using for cleaning the wall surface can’t get through behind the wall.
Step- 4. Install the Shower Valves
The next foremost important part is installing the valve properly. For doing so inquire about each valve and open every part carefully. Among them take the conductor valve and put it aside because it has to install at last.
Step- 5. Tape each valve
Take every single valve and Teflon paste for joining them together. Take the Teflon paste and roll it at the end jagged part of the valve. For proper rolling the Teflon paste into the valve follow the circle of a clock and does this process three times. Repeated the process for each valve you have and finish it properly.
Step- 6. Install the valve into the pipe point
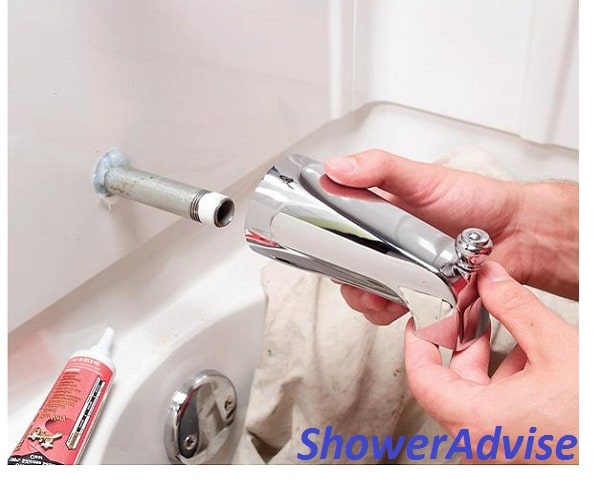
The next crucial step is installing the valve into the pipeline. Similar to the previous step here you also have to follow the clock circle system. Take the valve then place it into the pipe and roll it carefully three to four times. You can use an adjustable wrench for fitting it exactly.
Within this time if it not property set then take it out and try again in the same process. But be careful and not pull it powerfully as there a change of breakdown. Like step 5 repeated the same process for every valve.
Step- 7.Set the flange carefully
After placing the valve into the pipeline the next step is cover it with the arrival flange. Place the flange righty then fixed it with an exact screw. Before tight it with screw repeated the clock circle process to fix the flange at the proper place.
Step- 8. Install the handle
The next step is installing the handle within the flange. This step is another important part that has to do diligently. In this step take the handle and insert the jagged part of the handle into the flange and swing it in a clock circle.
Swing it 3 to 4 times in order to get enough tight fitting. If it was not done the first time make a second chance and follow the same instruction. But be aware not to give overpressure.
Step- 9. Install the shower hand
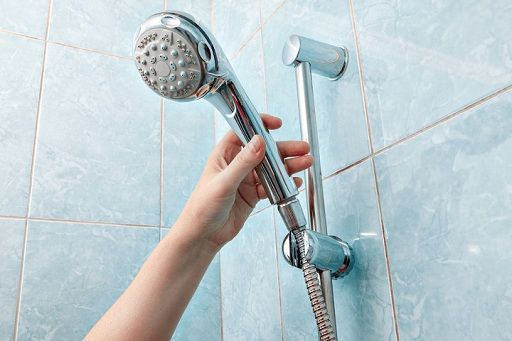
The installation of the showerhead just is the same process which we have included above for the valve and handle the matter. It is up to you which one you want to install first.
You can install the shower head first or either the shower handle. But in every circumstance, the process will remain the same.
Step- 10. Turn the water supply on for checking
After complete your installation process turns on the water supply and checks carefully is there any leaking or not. If got any leaking then fill it with glue or Teflon paste. But after checking stop use the new shower for at least 15 to 24 hours.
FAQs
1. What are the consequences of not properly installing a shower?
If you do not properly install a shower, it could lead to a number of problems, including leaks, poor water pressure, and mold or mildew growth. In addition, if you are not experienced in shower installation, you could end up causing more damage than you fix.
2. What are the most common problems with shower installation?
One of the most common problems is leaks. If you have a leak, it is important to find and fix it as soon as possible, as it can cause water damage and other problems. Another common problem is poor water pressure, which can be caused by a variety of factors, including a clogged showerhead or shower valve.
3. How can I prevent problems with my shower installation?
There are a few things you can do to help prevent problems with your shower installation. First, make sure you follow the instructions that come with your shower carefully. Second, if you are hiring someone to install your shower, make sure they are experienced and have a good reputation. Finally, if you are having any problems with your shower, don’t hesitate to call a professional for help.
4. What should I do if I have a problem with my shower?
If you have a problem with your shower, the first thing you should do is try to figure out what is causing the problem. If you can’t figure it out, or if the problem persists, you should call a professional for help.
5. Can I install a shower myself?
In general, it is not recommended that you install a shower yourself. The installation process can be complicated, and if you are not experienced, you could end up causing more problems than you solve. If you are determined to install your shower yourself, make sure you do your research and follow the instructions carefully.
Final words
We wrap up the article with the hope that you got to know the whole process of shower installing. We have tried out best to show you the most simple and efficient way. Although the installation process may vary from the shower to shower. So it is wise before going immediate operation cautiously check the details of the shower part and functionality.
Therefore if you follow the guideline we hope you will get success in your job. Enjoy your plumbing experience with full of confidence. Best of luck!


