How to Build a Shower Pan on Concrete Floor
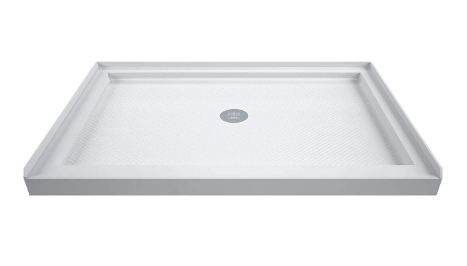
A shower pan makes an essential part of a bathroom, as it creates a waterproof barrier beneath the shower tile floor. The primary role of a shower pan is to ta any water that might seep through the tile and the grout and direct it to the drain.
Whether you’re building a new home or renovating an older one, you may need to build a shower pan on a concrete floor. It’s not as difficult as it sounds, and with a little patience and attention to detail, you can create a professional-looking shower pan that will last for years.
In this article, we’ll show you how to build a shower pan on a concrete floor. We’ll cover everything from choosing the right materials to creating a drainage system that will keep your shower pan looking great for years to come.
If you’re ready to learn how to build a shower pan on a concrete floor, let’s get started!
Benefits of building a shower pan on a concrete floor
Indeed, a shower pan is an essential structure in any shower. It, therefore, follows that its installation must be meticulously done so that it can serve its purpose to the best. Knowing how to build a shower pan on a concrete floor is the very first step for DIYers.
With a high-quality shower pan, you can get your dream bathroom. These structures are built with the latest technology to allow easy entry and exit to your bathroom, durable construction, and a water containment base among other features.
Remember that shower bases are made from a variety of materials, including acrylic, fibreglass, custom tile, and composite. Also, they are of different shapes, sizes, and angles.
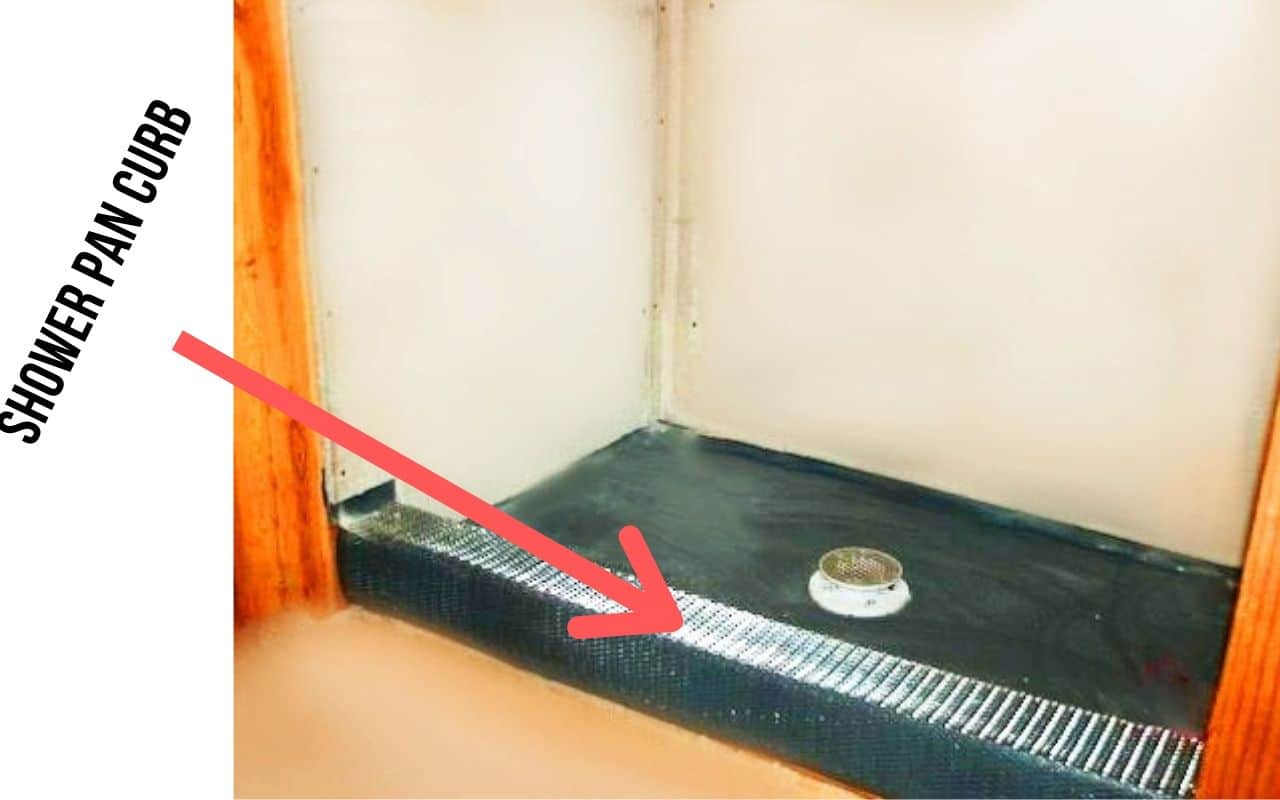
The most prominent design of a shower pan is perhaps the single-curb design. The curb is the front edge of a pan that rises about 2 to 6 inches above the ground. This is vital because it prevents water from leaking out of your shower.
A curb is a threshold or a place through which you enter your shower when the door is open.
The other design is a barrier-free design. This design does not have a curb, though some have a very low edge. However, this design might feature a splash wall to direct the water into the drainage. They are advantageous in homes where some individuals use wheelchairs.
How to Build a Shower Pan On a Concrete Slab
Building a shower base on a concrete slab is a rather straightforward process. If you follow the following procedure, you’ll realize how easy it is.
A concrete slab is stronger and more stable, giving an excellent surface to work on. It provides you with adequate subflooring. To be able to know how to build a concrete shower pan, you need to have mortar, concrete backer board, and tiles.
Step 1:
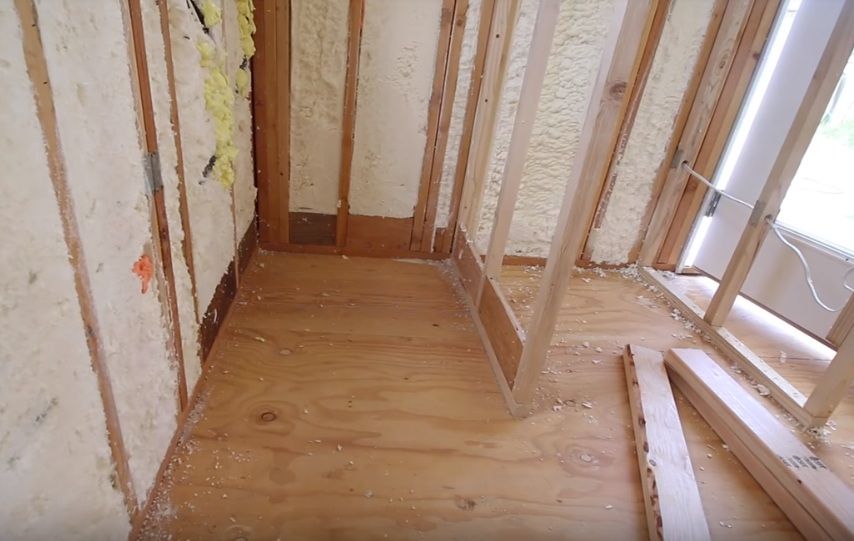
Use pressure-treated wood to frame the wall of the bathroom. It should rest directly on the concrete slab. To fasten them you can nail them one by one, or you can anchor them using a 2 1/2-inch. This step is followed by creating a shower curb. To create a curb, you can stack Douglas fir (2×4’s) on the wood and nail them singly. The height of your curb should be anything between 2 and 6 inches high.
For those who want to know how to build a curbless shower pan, it is not necessary to stack the Douglas fir. Only frame the wall and proceed to the next step.
Step 2:
Create a shower pan “box”. To do so, you will need to create a backing at the base of the shower stall. You can use timber of 2 x 6 around the perimeter of the shower pan. Sometimes, a 2 x 10 timber can be very effective considering it is a little bit higher. This part is important as it allows the membrane to rise up the wall.
This step is also essential in learning how to build a concrete shower pan.
Step 3:
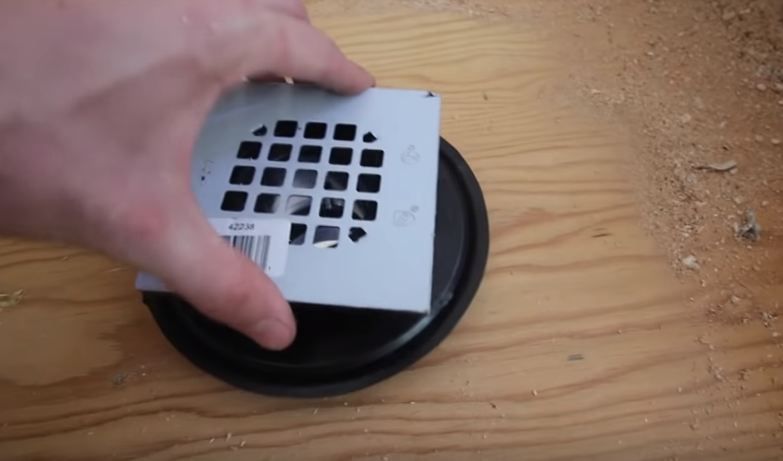
Create a pre-slope and drain assembly. This is a necessary step in the construction of a pan. A pre-slope is a necessary part that allows all the water collected on the shower membrane to drain away through the shower drain assembly. Use the concrete mix to create a 1/4″ per foot slope. The concrete should be sloping from the wall toward the drain
To create an effective drain assembly do it through the sub-floor. The drain installed on the floor should be at least 2 inches.
Step 4:
Make your floor waterproof by covering it with a vinyl sheet membrane, but you’ll need to install a layer of roofing paper first. This part provides cushioning. Alternatively, you can use a hot mop with tar.
Step 5:
Reinforce your curb using diamond mesh. The diamond mesh is vital in holding the mortar. Diamond mesh is chosen because it is mold-able, and it will allow you to staple only the outer face of your curb. The inner face will be held in place by the mortar on the floor.
If you know how to build a walk-in shower pan, you’ll realize this step isn’t necessary.
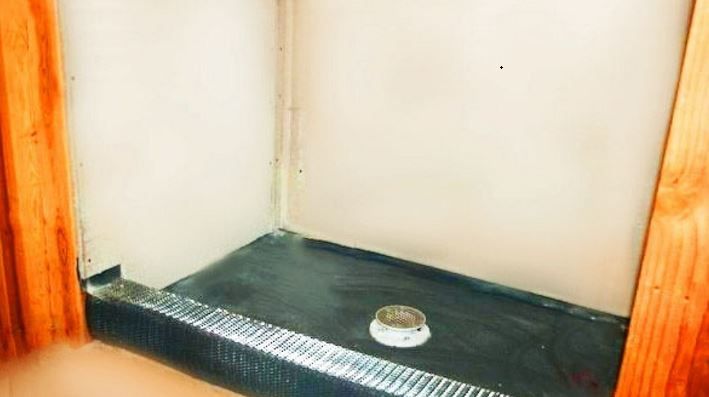
Step 6:
It is time to test if your floor can stand up against the water. You’ll have to fill the pan with water and allow it to stay for 24 hours. Mark the first level of water and note if there is a noticeable change in the level of water.
Step 7:
Install tile backer board on the shower walls. Before installing the tile backer board you will have to protect the membrane temporarily. Besides, you need to staple the vinyl sheets to the wall studs first. This way you have a guarantee of log integrity.
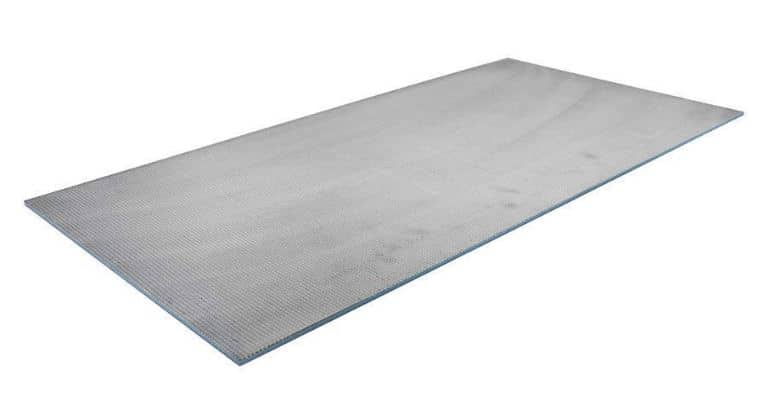
Step 8:
This is the final step. You will only need to place the top mortar layer over the shower liner. At least a 1 1/4″ thick mortar bed is desirable at the drain assembly.
You can finish with tiles.
Some factors to consider when choosing a shower pan material
There are many factors to consider when choosing a shower pan material, but some of the most important include durability, ease of maintenance, and slip resistance.
Durability is important because you want a shower pan that will last for many years without cracking, chipping, or otherwise breaking down. Ease of maintenance is important because you want a material that is easy to clean and won’t require special cleaners or treatments. Slip resistance is important because you want a material that won’t be slippery when wet, which can be a safety hazard.
Some other considerations include cost, aesthetics, and compatibility with your shower space. Ultimately, the best shower pan material for you will be the one that meets your needs and preferences in all of these areas.
Different types of shower pan
When it comes to choosing a shower pan, there are a variety of materials to choose from. Here is a look at some of the most popular materials used to construct shower pans:
Tile: Tile is a classic choice for shower pans. It is durable and easy to clean. Plus, tile comes in a variety of colours and styles to suit any bathroom décor.
Stone: Stone shower pans are another popular option. They are typically made from granite, marble, or slate. Stone is a luxurious material that adds a touch of elegance to any bathroom.
Fibreglass: Fiberglass shower pans are a more budget-friendly option. They are easy to install and maintain. Plus, fibreglass comes in a variety of colours and designs to suit any bathroom style.
Acrylic: Acrylic shower pans are a good choice for those who want a durable and easy-to-clean shower pan. Acrylic is available in a variety of colours and styles to suit any bathroom décor.
So, there you have it – a look at some of the most popular materials used to construct shower pans. When it comes to choosing the right shower pan for your home, be sure to consider your budget, style, and maintenance needs.
Conclusion
Building a shower pan is rather straightforward. Whether you are building a walk-in curbless shower base or a shower base with a curb, the preliminary steps are the same.
Besides, you can customize your creation by learning how to build a custom shower pan on a concrete floor. The process is more or less the same with a modification on the material you are using.
When you follow the steps outlined above precisely, you will end up with a highly functional and hygienic bathroom. Remember, tile finishing on your bathroom makes it look beautiful. Besides, it is one of the primary ways to customize your bathroom.

I really like your blog.. very nice colors & theme. Did you make this website yourself or did you hire someone to do it for you? Plz answer back as I’m looking to construct my own blog and would like to know where u got this from. thank you|
We can do your job. contact us on showeradvise@gmail.com