How To Install A Shower Faucet New Construction – Tub and Shower
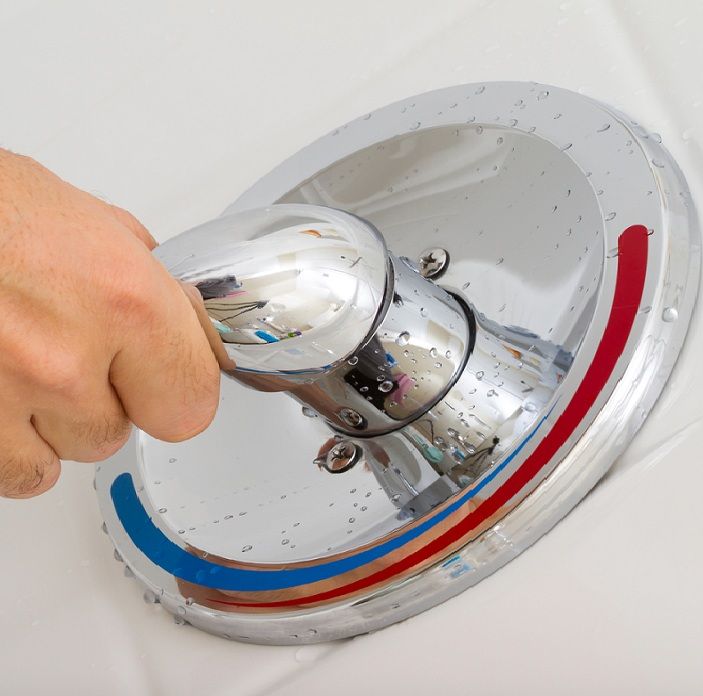
If you’re starting from scratch with your shower faucet installation, or if you’re doing a complete renovation of your bathroom, here’s what you need to know to get the job done right. These instructions are for a new construction shower faucet installation.
The shower faucet makes one of the critical parts of your shower, sink or tub. So, you must learn how to install a shower faucet. The faucet is made up of the handle, spout, shower head, and valve mechanism. The visible parts are the handle and the showerhead. The valve mechanism is found behind the wall. This implies that for convenience is more natural and best to install the faucet before covering the wall. The spout, the showerhead, and the handles are also known as trim.
Types of Shower Faucets
When it comes to your shower, there are many different types of shower faucets that you can choose from. To install a new shower faucet, you need to select the right type of shower faucet for your project, you need to understand how they work.
There are three basic styles of shower faucets: single-handle, double-handle, and thermostatic.
1. Single handle: this type has a tee connection to both hot and cold water supplies. The control of water temperature and flow is accomplished by one handle. This comes with instructions on how to install a single-handle shower faucet.
2. Double handle: this type of shower faucet has one control for water temperature and one for water control.
3. Thermostatic faucets: These types of faucets are more expensive but offer more precise temperature control. This type of faucet is a good choice if you have young children or if you’re particularly sensitive to changes in temperature.
How to Install a Shower Faucet in New Construction
Assuming you have all the necessary tools and materials, installing a shower faucet in new construction is a relatively straightforward process. Here are the basic steps:
Tools and Materials Needed:
- Shower faucet
- Valve
- Showerhead
- Drill
- Teflon tape
- Pipe dope
- Wrench
- Screwdriver
The first step is to ensure that you attach the valves to the framing to be able to route the pipes correctly; this done before the installation of the pipes.
Install a two by six block into the framing of the enclosure. This will support the valve, the showerhead, and the spout. While installing the block ensure that it faces towards the shower.
The height of the valve should be convenient for both adults and children when operating the handle. The recommended height is about 40 inches. The valve installation instructions specify the distance from the block to the front of the wall. So you should account for the thickness of the wall covering including the backer board.
Secure the faucet valve to the blocking with screws, and ensure it is positioned in the correct orientation.
Now, connect the pipes supplying water to the water inlets. While doing this, you will need to follow the procedure as per the model of the valve. Some valves have a male threaded port while others have female ones, and still, others have slip connectors. When you connect the pipes with threaded fittings, wrap plumbing tape around the head first. If you solder the pipes into a slip connection use lead-free solder and a propane torch.
Learning how to install a new single-handle shower faucet is easy.
You will route a half-inch cold and hot water supply to the valve. Tie the two pipes into a three-quarter-inch main pipe. It should be as close to the water heater as possible. Mostly the valve has a female threaded pipe connection. In the connection, you will screw the threaded adapter and reinforce it with plumbing tape. Fit the pipes tightly and solder all the joints. It is essential to install a water hammer arrestor into each of the hot and cold water supplies near the valve. Such fitting prevents banging in the pipes whenever you turn on the faucet.
Every valve has a threaded outlet on top for the pipe that goes to the showerhead. When the faucet controls a tub spout also, it will have an additional outlet. Install a 1/2-inch pipe from the valve to the blocking for the showerhead. Terminate this pipe with a brass elbow that is threaded. This fitting has ears for screwing to the blocking. Secure the brass to the blocking using screws. This is how to install a shower faucet in new construction.
Similarly, install a pipe for the tub spout. To keep the debris out of the pipes, into each elbow you will screw a temporary nipple about six inches, as you finish the wall. Cover the walls, leaving a gap about half an inch around the valve handle and the nipples. Cover this space with the trim that comes with the faucets. This is how to install a tub shower faucet single handle. The trim has faceplates for the valve and for the shower arm, an escutcheon. Note that the tub spout doesn’t need the trim.
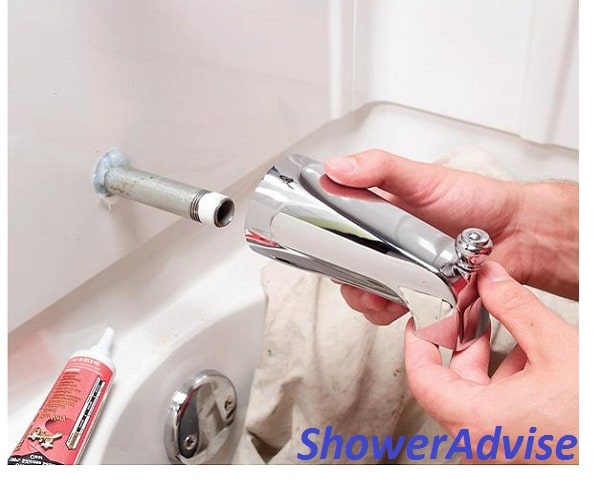
Loosen the nipple sand using plumbing tape wrap the shower arm and spout the nipple, then tighten them. Seal the trim and the tub spout using silicone caulk, a necessary step to keep moisture out of the wall.
FAQs
What are the most common problems with shower faucets?
The most common problems with shower faucets are leaks. Leaks can occur at the base of the faucet, where the handle attaches, or around the stem.
How can I avoid problems when installing a shower faucet?
When installing a shower faucet, avoid problems by using Teflon tape on all threaded connections and connections with rubber gaskets.
What should I do if I encounter a problem while installing a shower faucet?
If you encounter a problem while installing a shower faucet, the best course of action is to consult the faucet’s owner’s manual. If you cannot find the owner’s manual, you can try contacting the manufacturer directly. In most cases, the manufacturer will be able to provide you with troubleshooting assistance or replacement parts if necessary.
Conclusion
Installing a shower faucet in new construction can be a challenging task, but with the right tools and instructions, it can be done relatively easily. It is important to take your time and read all of the instructions before beginning the installation process. Once you have all of the necessary tools and materials, the process should go smoothly. With a little bit of patience and attention to detail, you can have a new shower faucet installed in no time.

Thank you so much that you are making such a nice comment.Hare are the latest shower faucets list.